Product Photography
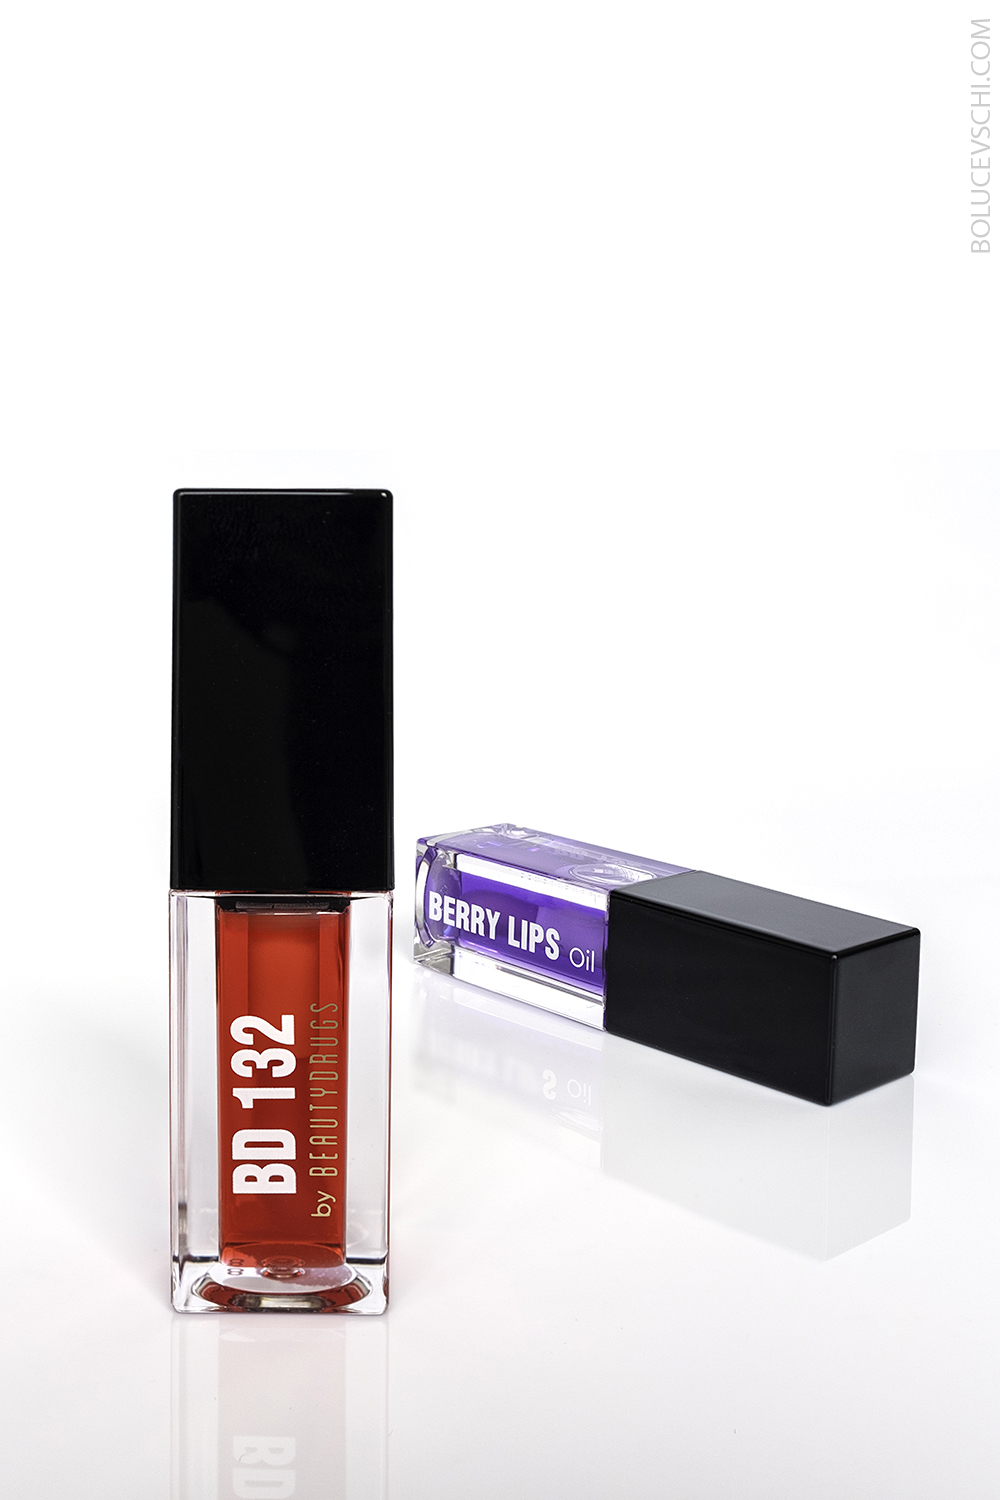
Each of us, when shopping online, pays attention to the product photo before reading the description. After all, the picture can tell everything – about the shape, color, texture, and even the feel of the product. This is why product photography becomes not just a part of marketing, but a vital sales tool.
Professionally speaking, product photography is a branch of commercial shooting whose goal is to create a visually appealing image of a product. These photographs are used for advertisements, websites, catalogs, social media, and online stores. Yet, hidden behind the dry definition is the photographer’s creativity, taste, and vision.
Why Product Photography is Important for Business
If you are selling a product, your first salesperson is neither the manager nor the website. It is the photo. In the modern digital world, the customer buys with their eyes. Even if your product is perfect, a poor photograph can nullify all your efforts.
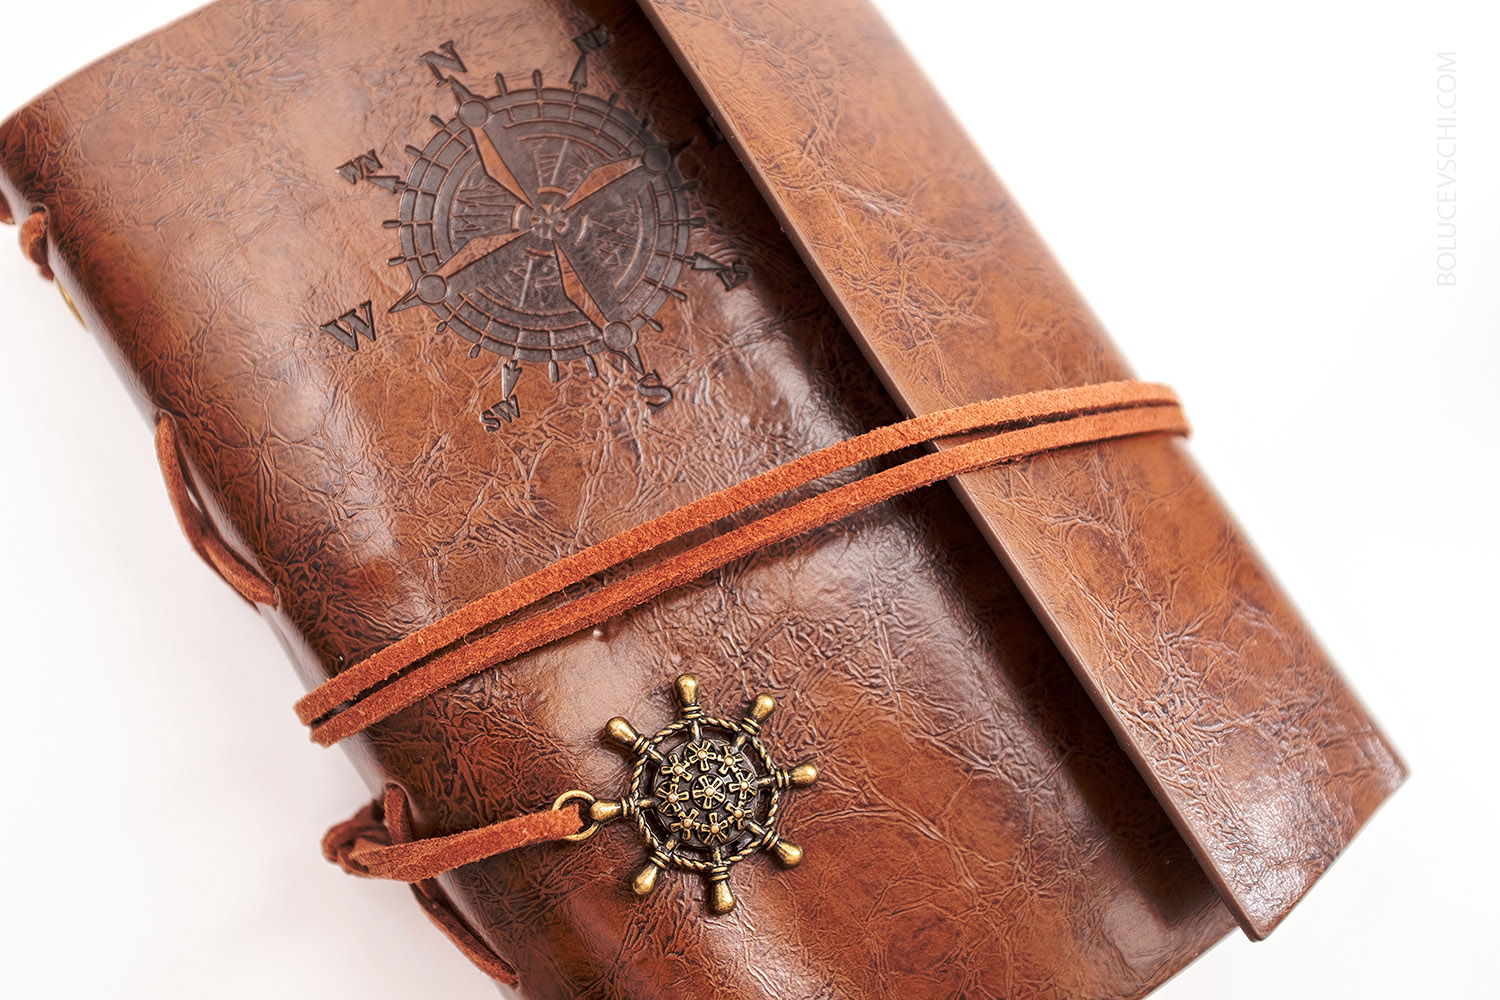
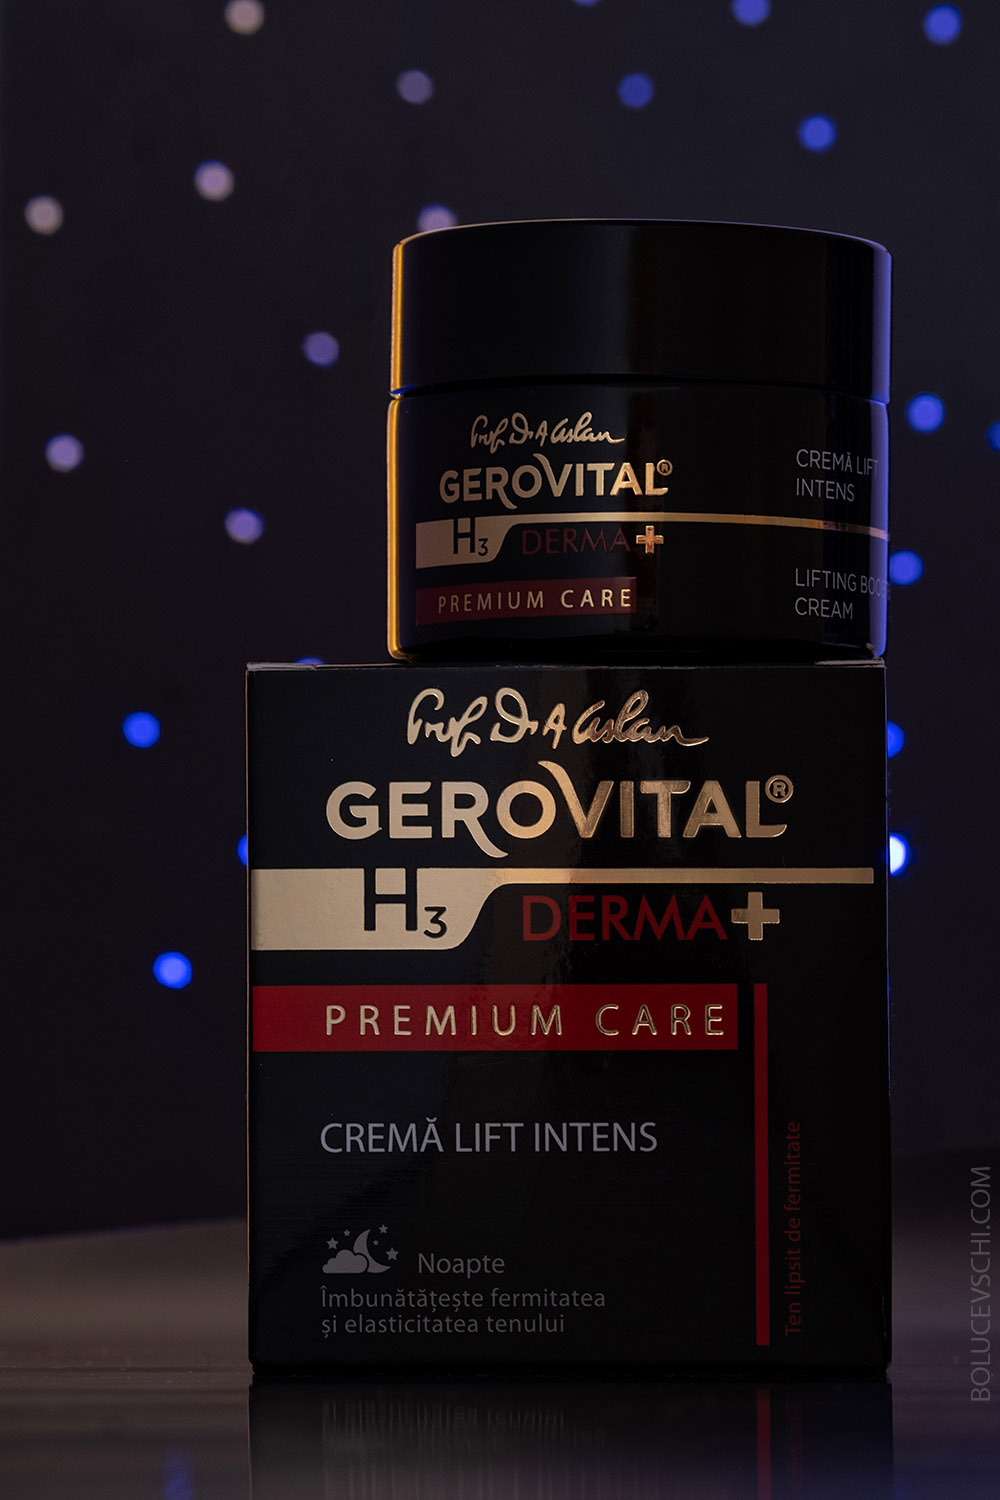
Background and Props
The background is part of the composition. I often choose it to match the character of the item. For jewelry – minimalistic light surfaces. For craft goods – wooden textures or fabric. Sometimes I add props: flowers, fabrics, glass, to create an atmosphere.
Setting Up Light for the Perfect Shot
Light is the soul of photography. In product shooting, literally everything depends on it: texture, volume, and mood. When I was starting out, I experimented with desk lamps, reflectors, and flashes – and realized that light is not something to be controlled, it must be understood.
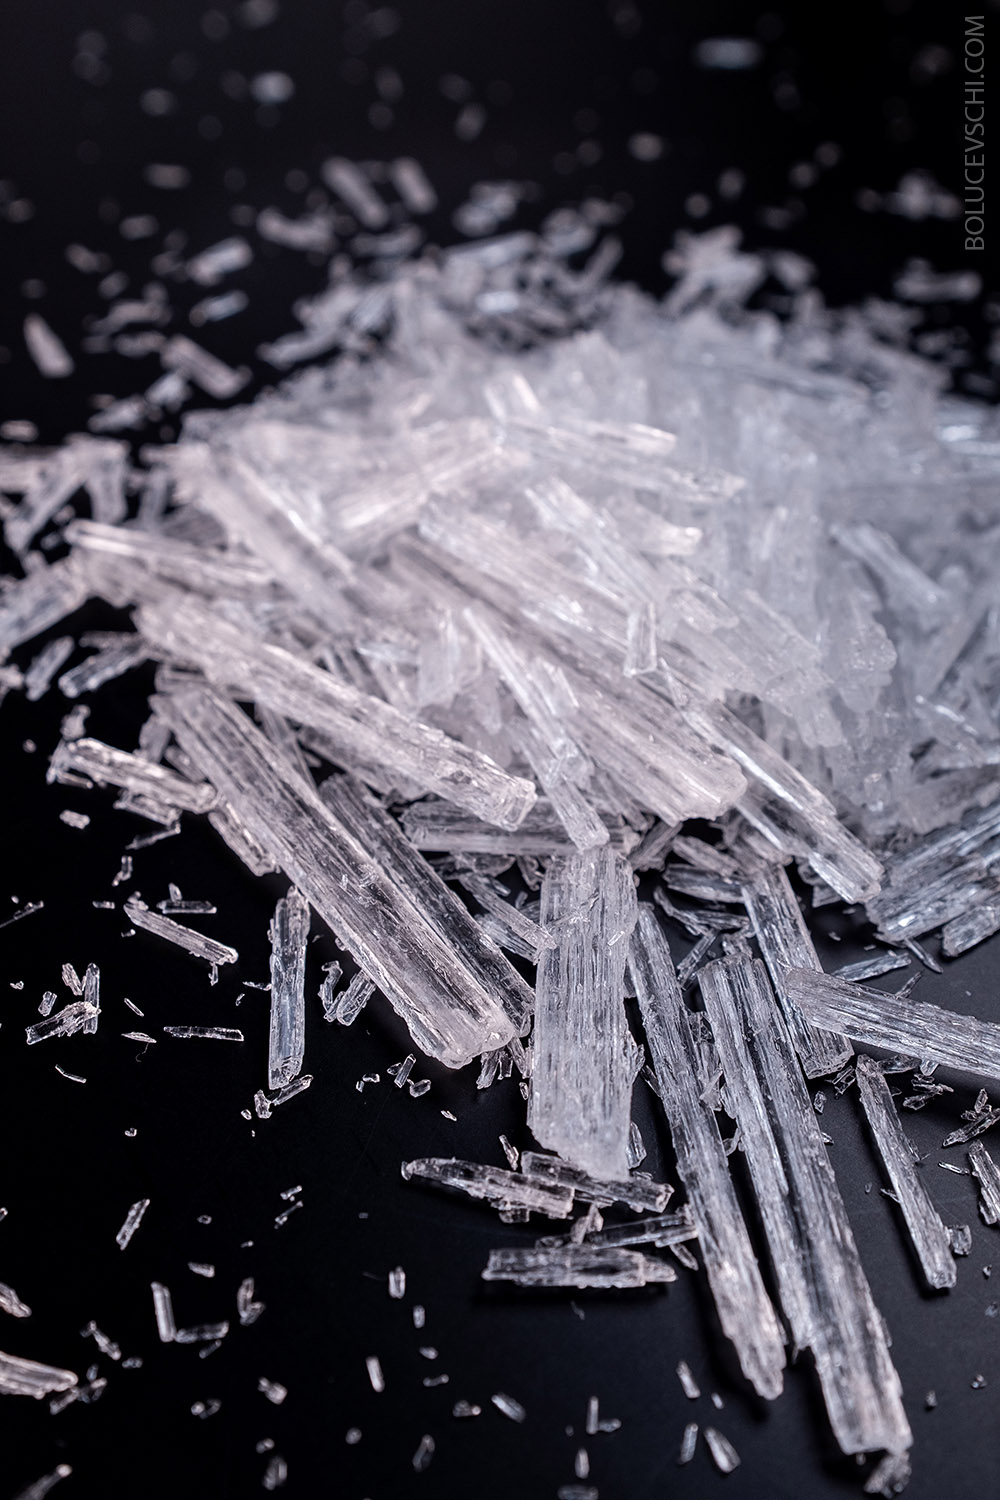
Natural Lighting
I love working with natural light, especially when shooting craft or handmade items. Soft, diffused light from a window gives a lively sense of naturalness. For such shoots, I often use white reflectors to soften shadows and add evenness. The main thing is to avoid direct sunlight: it creates harsh contrasts and “kills” details.
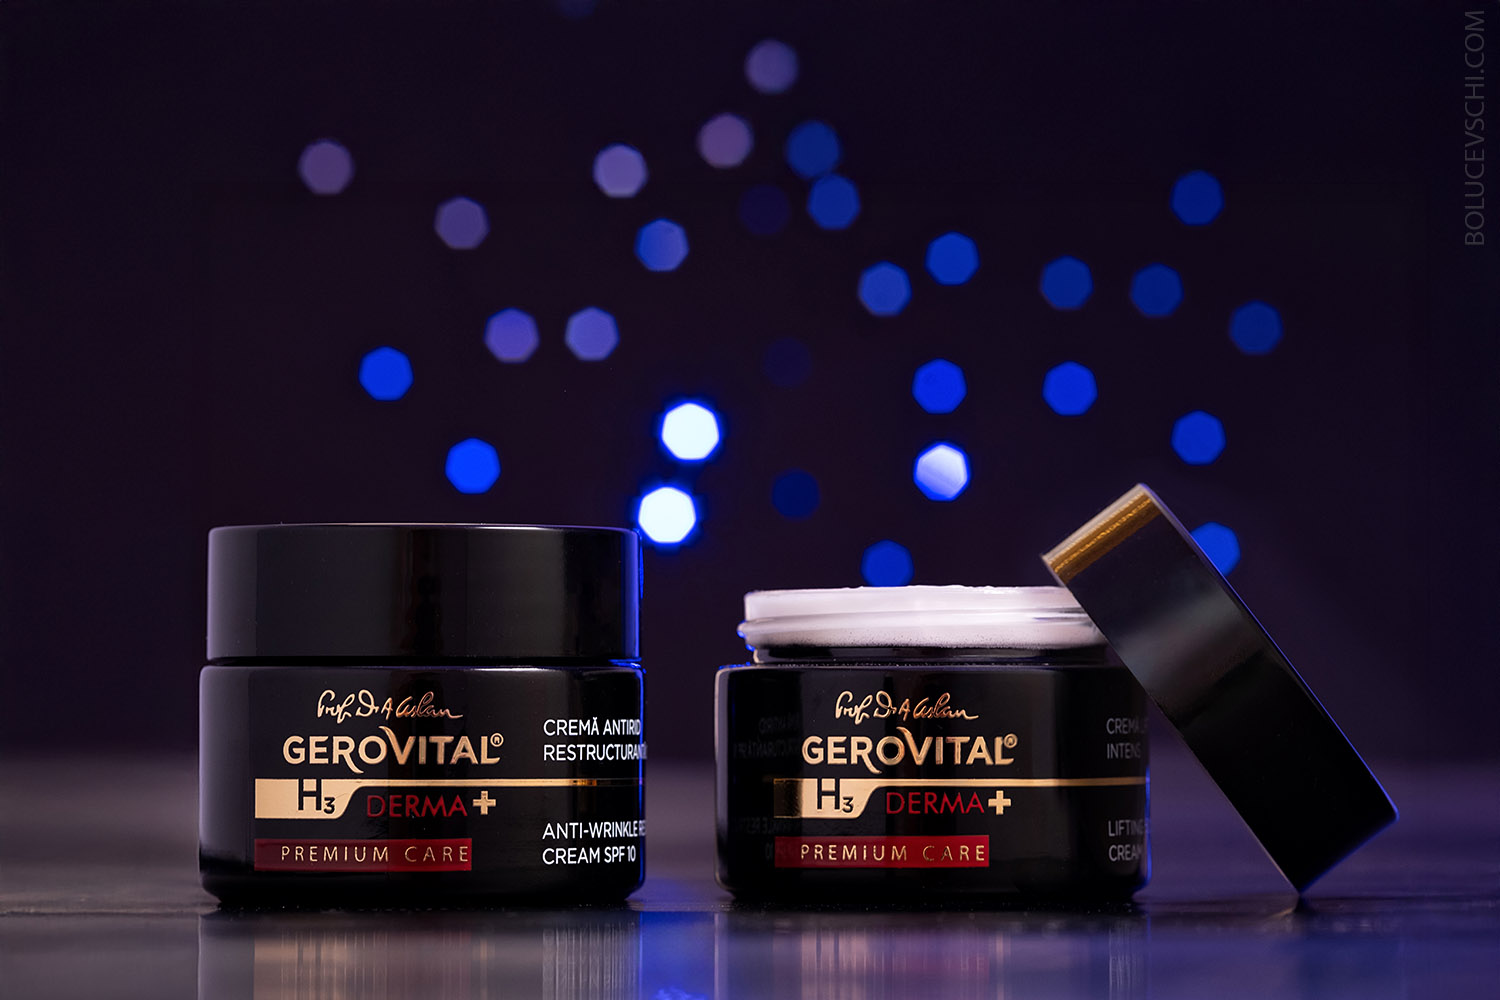
Artificial Lighting
But if you want consistent results – you cannot do without studio lighting. In the studio, I use a combination of continuous and strobe (flash) light. Continuous light helps me see the picture in real-time, and strobe light provides power and detail clarity. For product photography, I prefer softboxes and light cubes. They allow me to distribute the light evenly and remove unwanted glare. Sometimes I use backlighting – a slight glow from behind the object to highlight the contours and add depth. And yes, don’t forget about shadows. Many photographers try to eliminate them, but it is the soft, barely noticeable shadow that makes the photo look voluminous and realistic.
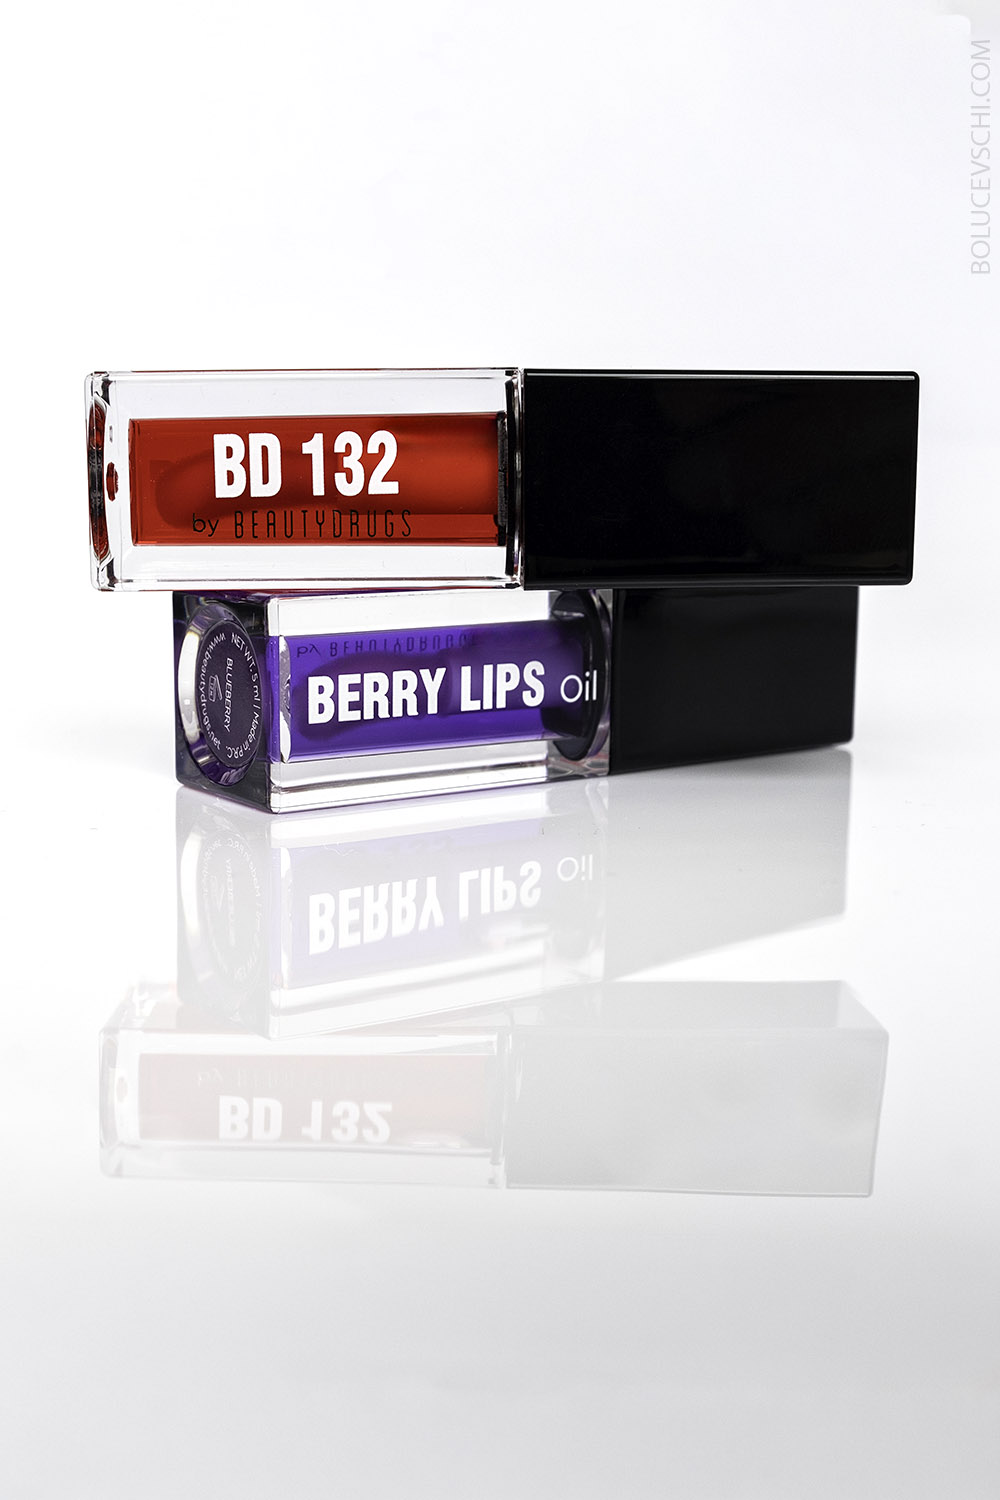
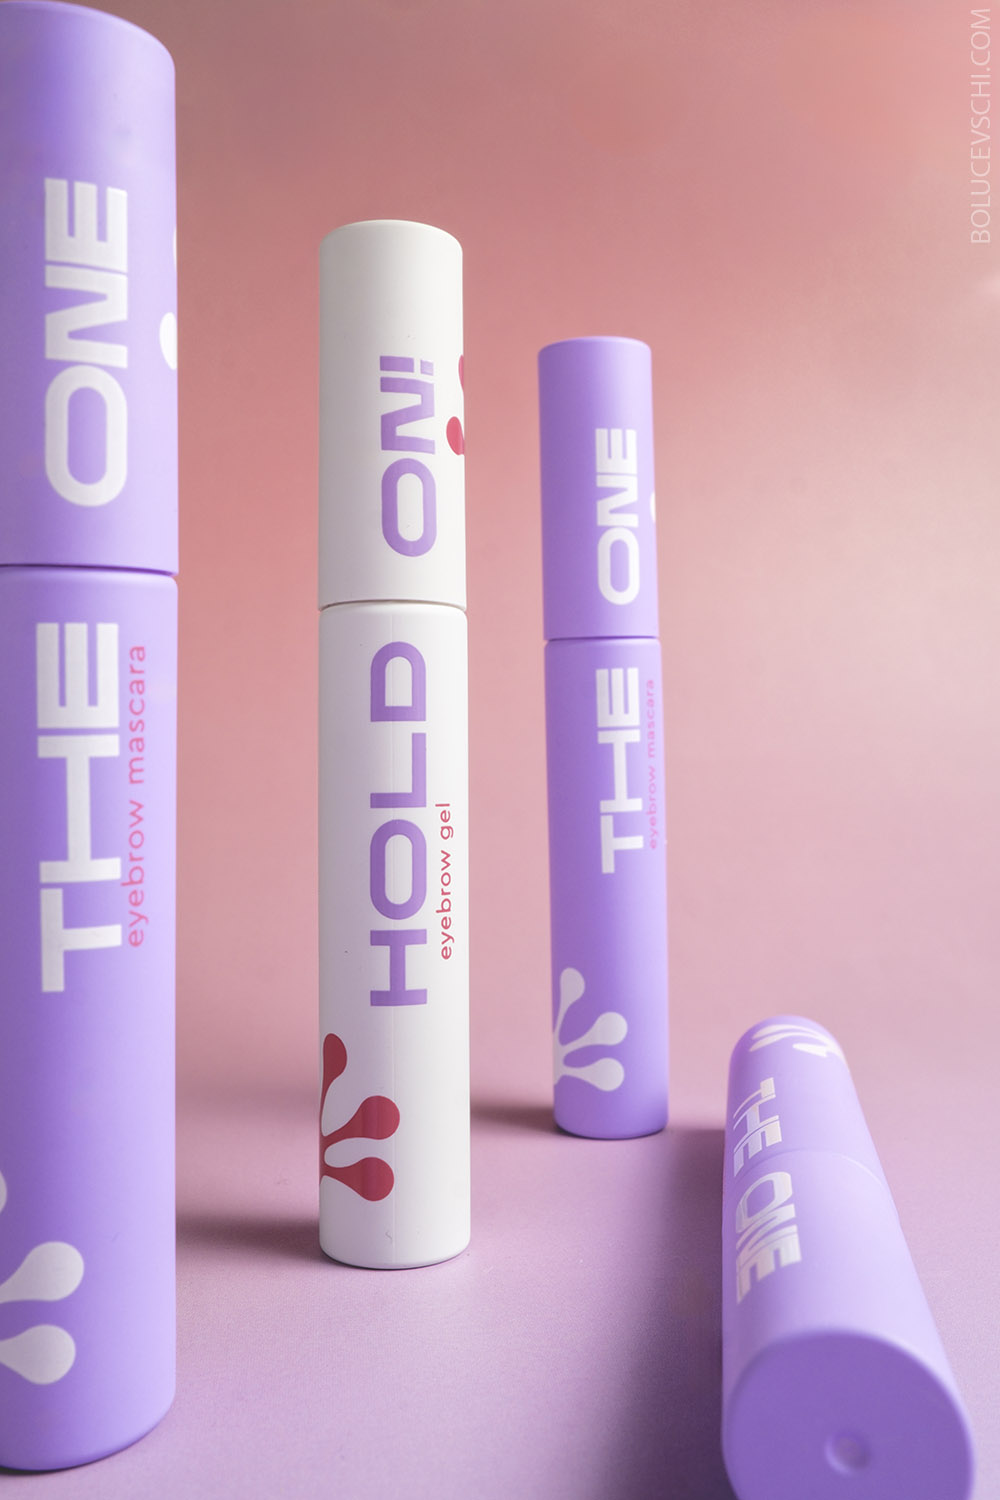
Composition and Object Placement
Composition is the language the photographer uses to speak to the viewer. The same object can be shot in a hundred ways, but only one frame will evoke interest and trust. When building a composition, I always think: where will the viewer’s gaze go first? The main rule is not to overload the frame. The simpler, the better. The product should be the main hero, and everything else should complement it. I often use the Rule of Thirds: placing the object slightly off-center to make the photo look more natural. Sometimes I use diagonal lines to add dynamism. For catalogue photos, I use symmetry and a neutral background – this makes the product look clean and professional. For lifestyle or brand image shoots, I allow myself more creativity – playing with reflections, textures, and colors. The photo should “tell a story” about the product. For example, if it’s coffee, I add a few beans in the background, light steam, or a wooden spoon – details that create an atmosphere and make you smell the aroma.
Preparing the Product for Shooting
Many underestimate this stage, and wrongly so. Good preparation saves hours of post-processing. Before every shoot, I dedicate time to cleaning and polishing the items. Dust, fingerprints, lint – these are the photographer’s enemies. The camera sees what the eye misses. For glossy surfaces (such as jewelry, glass, metal), I use gloves, microfiber, and isopropyl alcohol – to avoid leaving marks. If the item is small, I fix it with adhesive putty to prevent movement during the shoot. It’s also important to plan the order of shooting – from cleaner items to “messier” ones. For example, shoot ceramics first, and only then products that might soil the background. Before starting, I always do test shots. I check the white balance, reflections, and light accents. Sometimes, simply turning the object slightly is enough for it to “sing” differently.
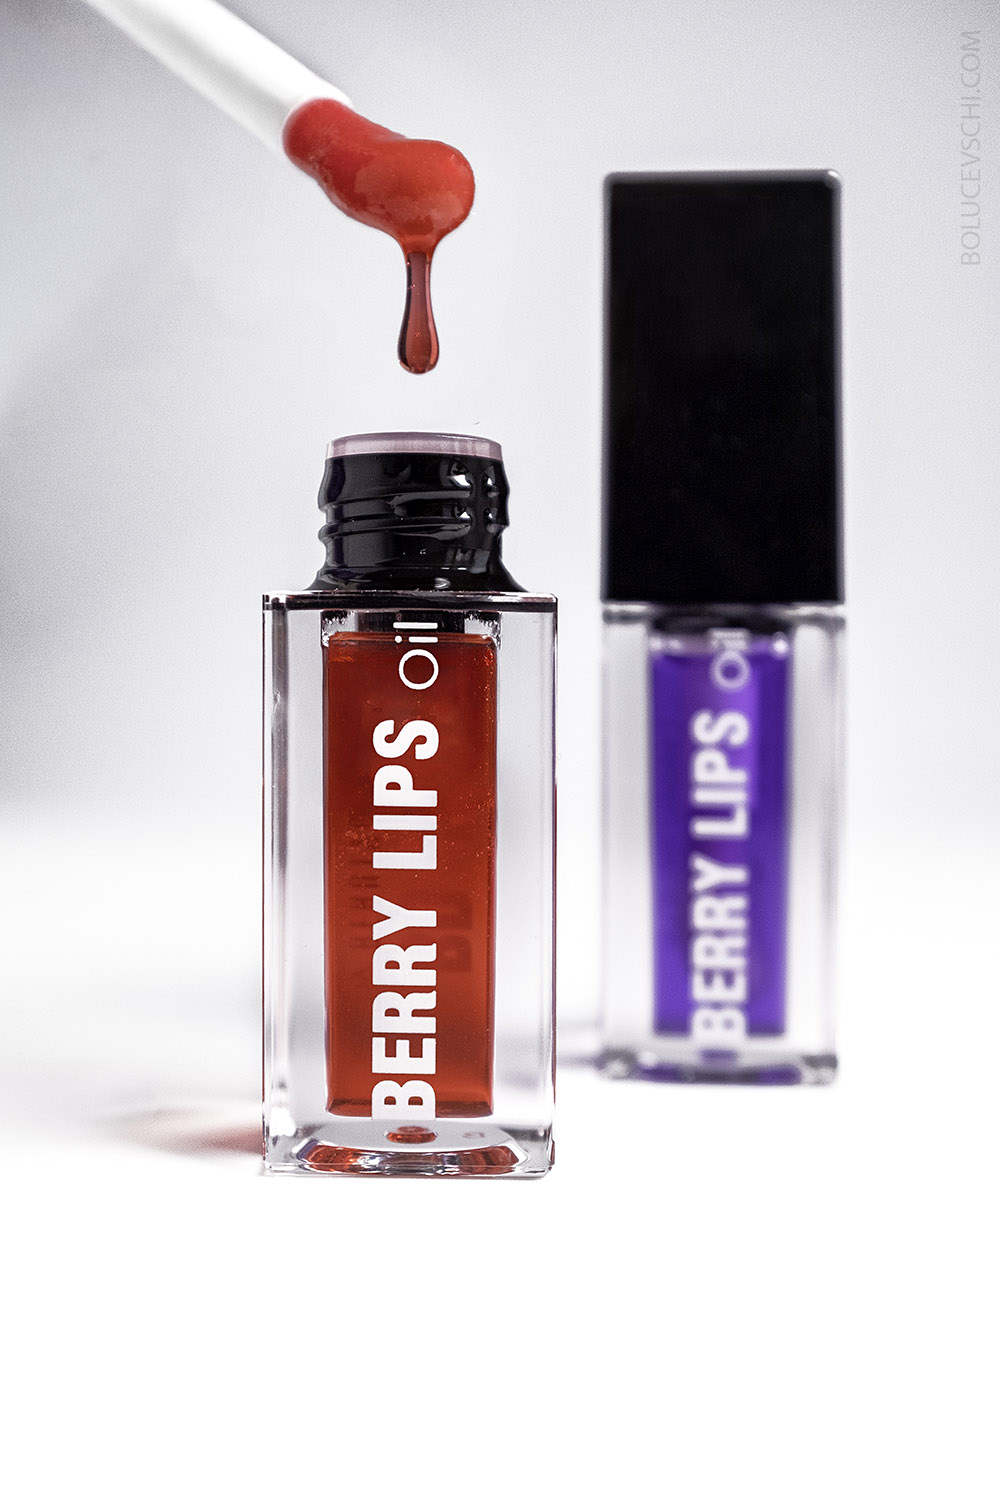
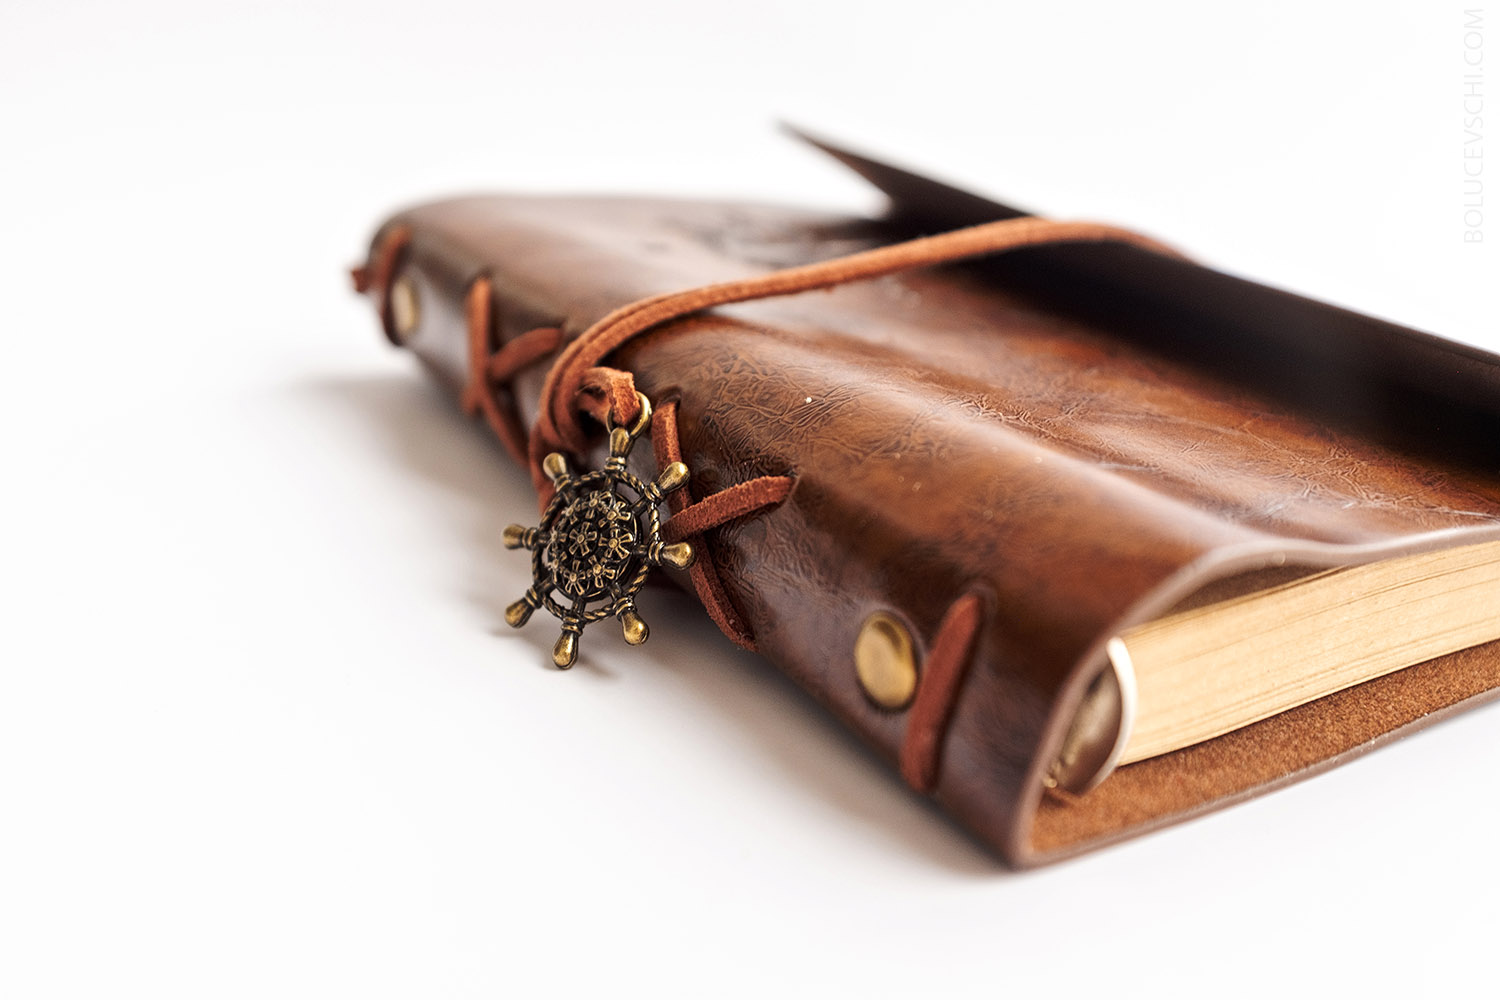
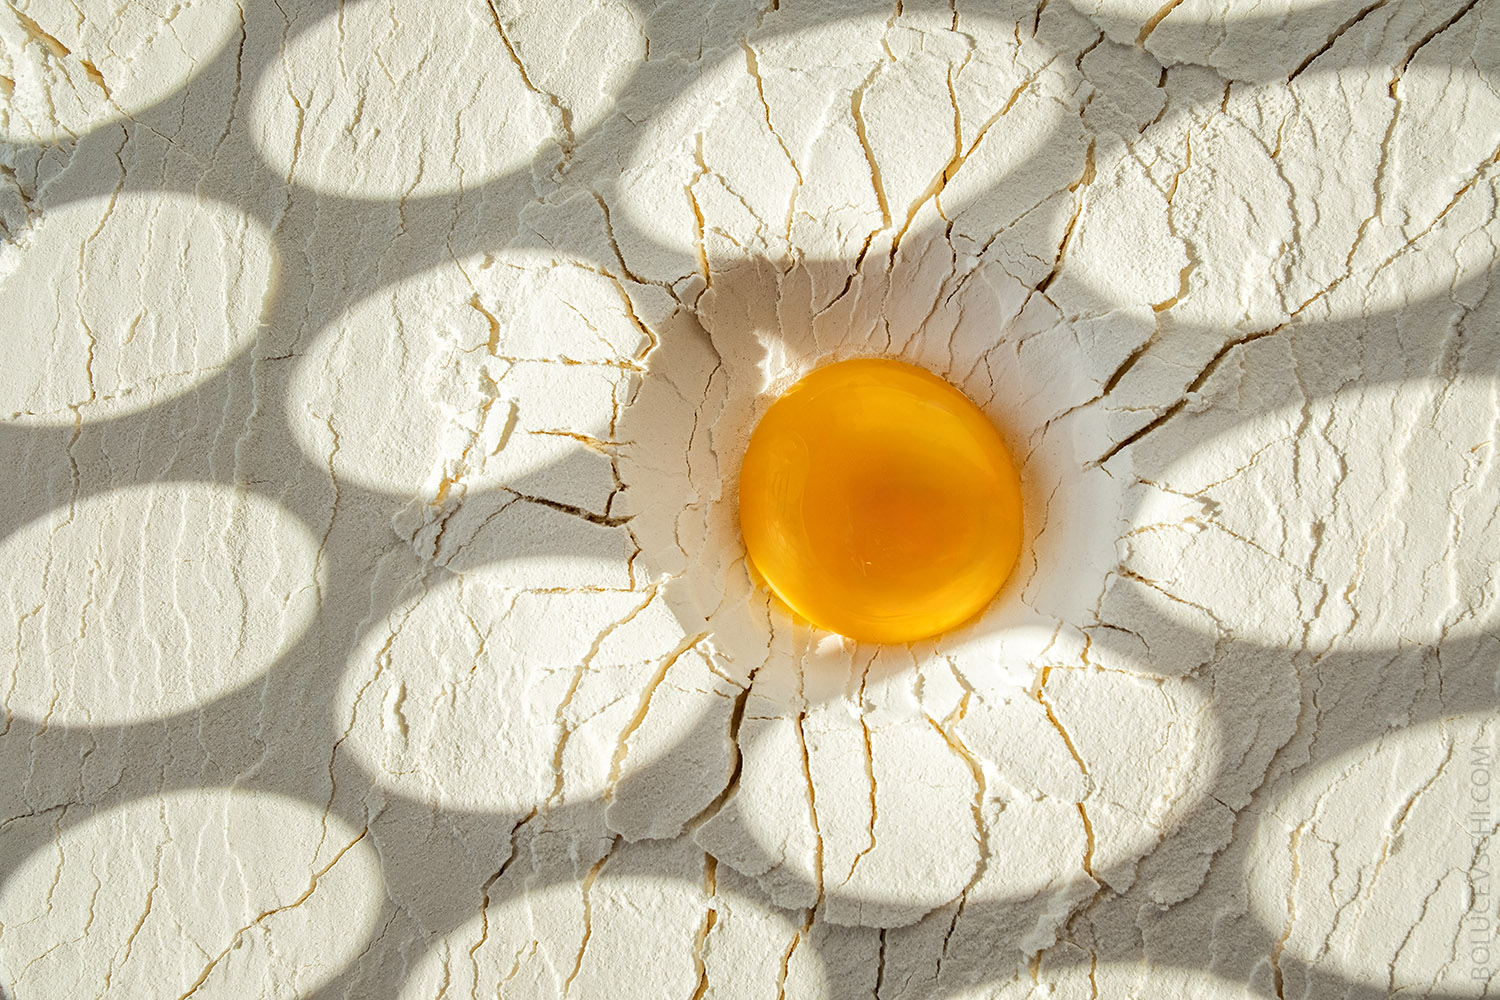
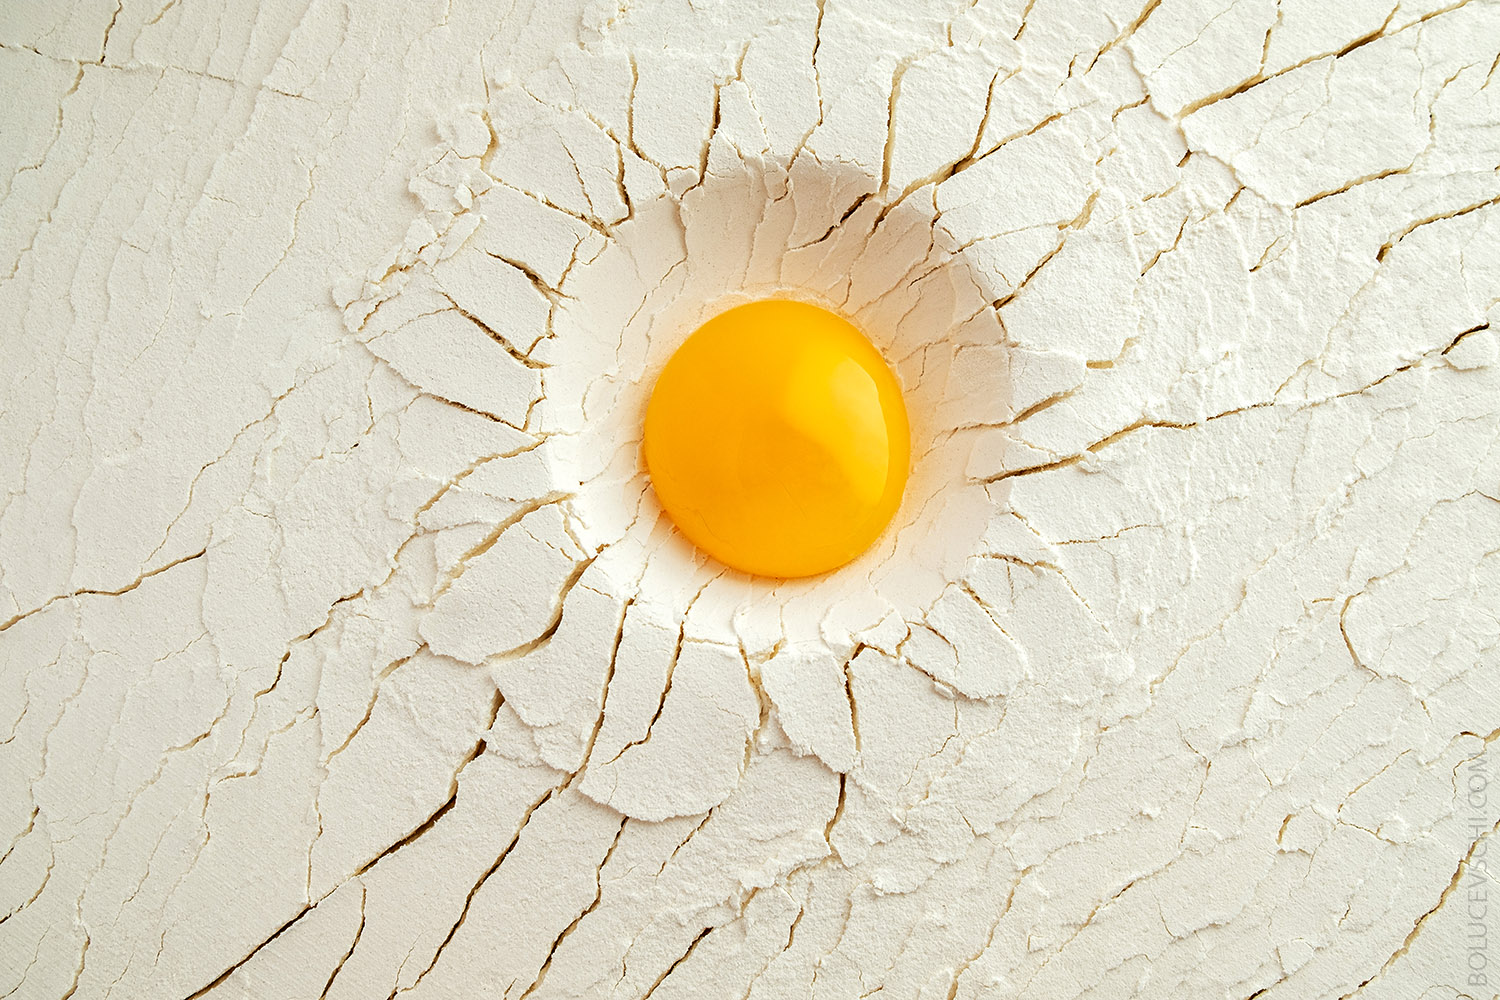
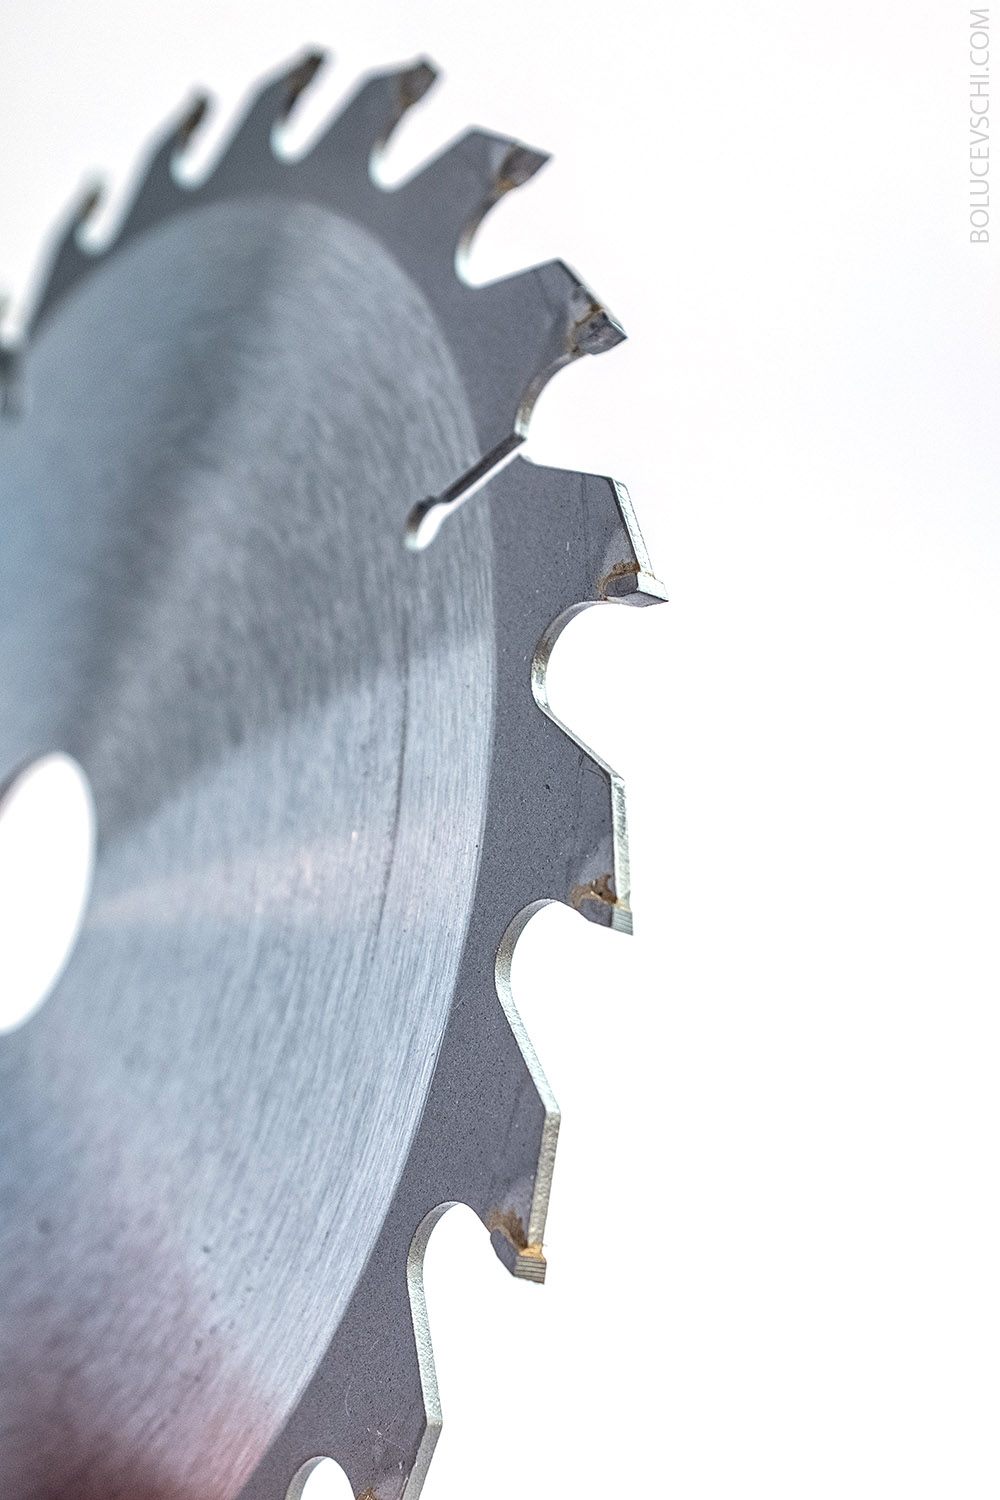
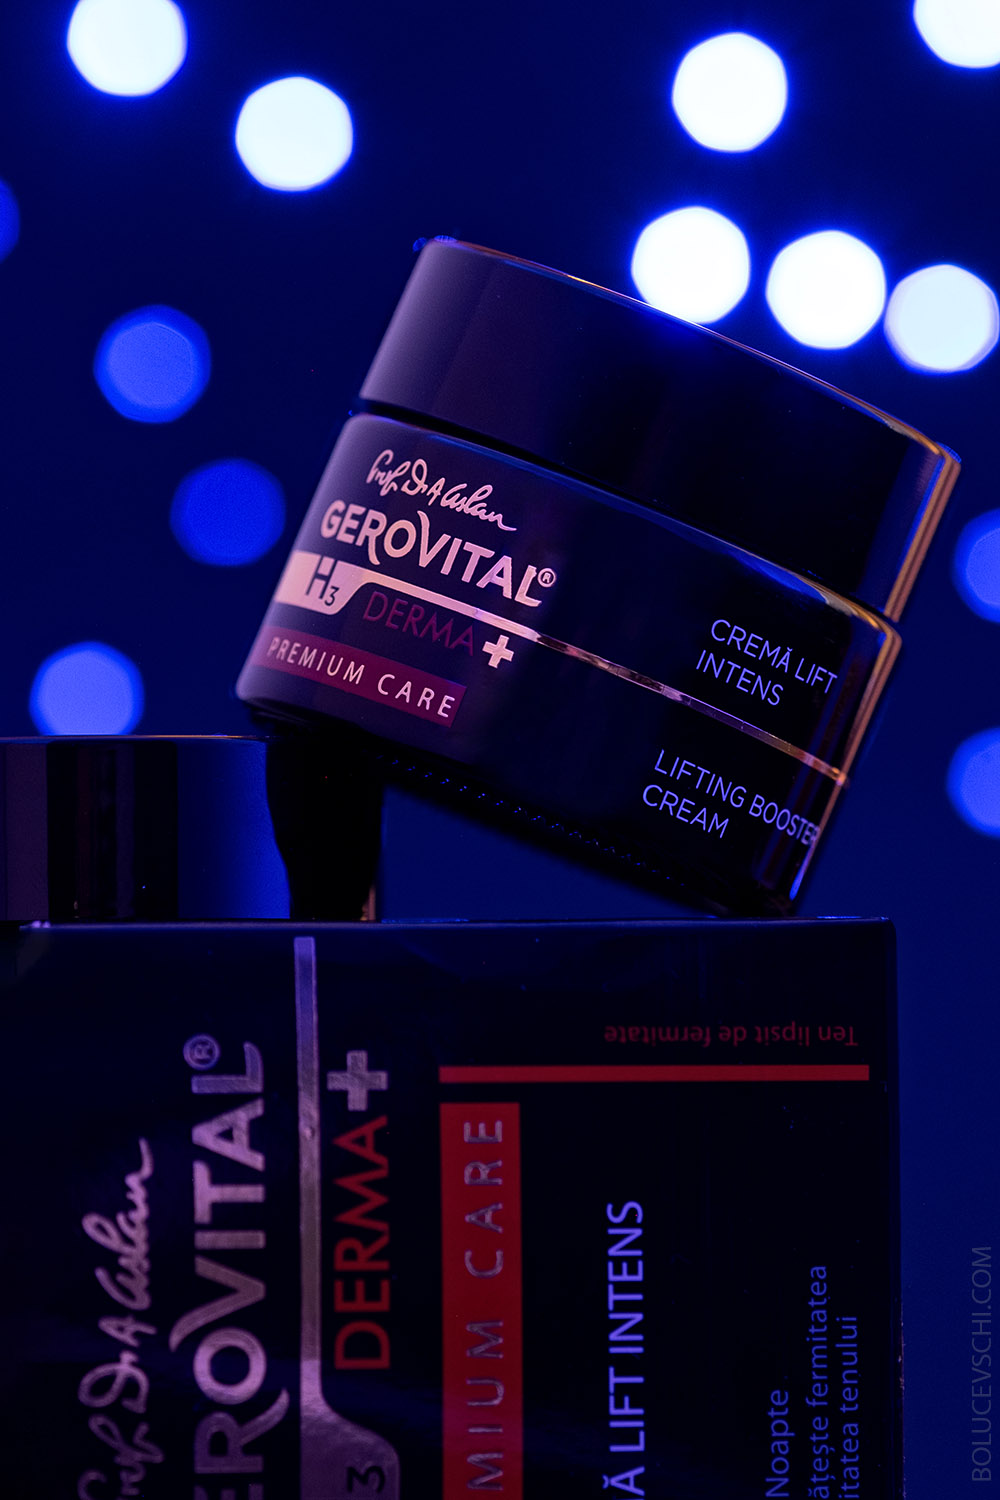
How to Convey Texture and Shape
Texture is what makes a photograph “tangible.” A good shot makes the viewer almost feel the material with their fingers. This is the magic of product photography. To emphasize texture, I use side lighting. When the light source is angled, it creates soft shadows that highlight the surface relief – whether it’s the roughness of leather, the matte finish of ceramics, or the sheen of glass. It’s also important to set the contrast and micro-contrast. During the shooting stage, it’s better to slightly underexpose the shot than to overexpose – it’s easier to preserve details in the shadows. I always try to work honestly with color. For instance, if I’m photographing natural wood, I don’t add excessive saturation. Let the material “speak” for itself. Another technique is using a reflector with a colored surface (gold or silver). It adds a soft glow that enhances the sense of volume. Sometimes I apply water spray or oil to emphasize the texture of the product (e.g., fruits or drinks). These small details give the shot “life.” It’s all about attention to detail: every scratch, highlight point, and curve of light is part of the story you tell about the product.
Retouching and Post-processing
Many believe that professional photographs are born in the camera. But in reality, the magic happens later – during post-processing. Retouching is not just correcting mistakes; it’s the final touch that turns a shot into a work of art. I always say: “The processing should not be noticeable.” Good retouching highlights the product’s advantages without distorting it. When I work on images, my approach is maximum naturalness.
Product Photography for Online Stores
Online stores are perhaps the product photographer’s main client. And there is a specific nuance here. The photo should not just be beautiful, but also honest, informative, and optimized for online sales.
What is important when shooting for e-commerce:
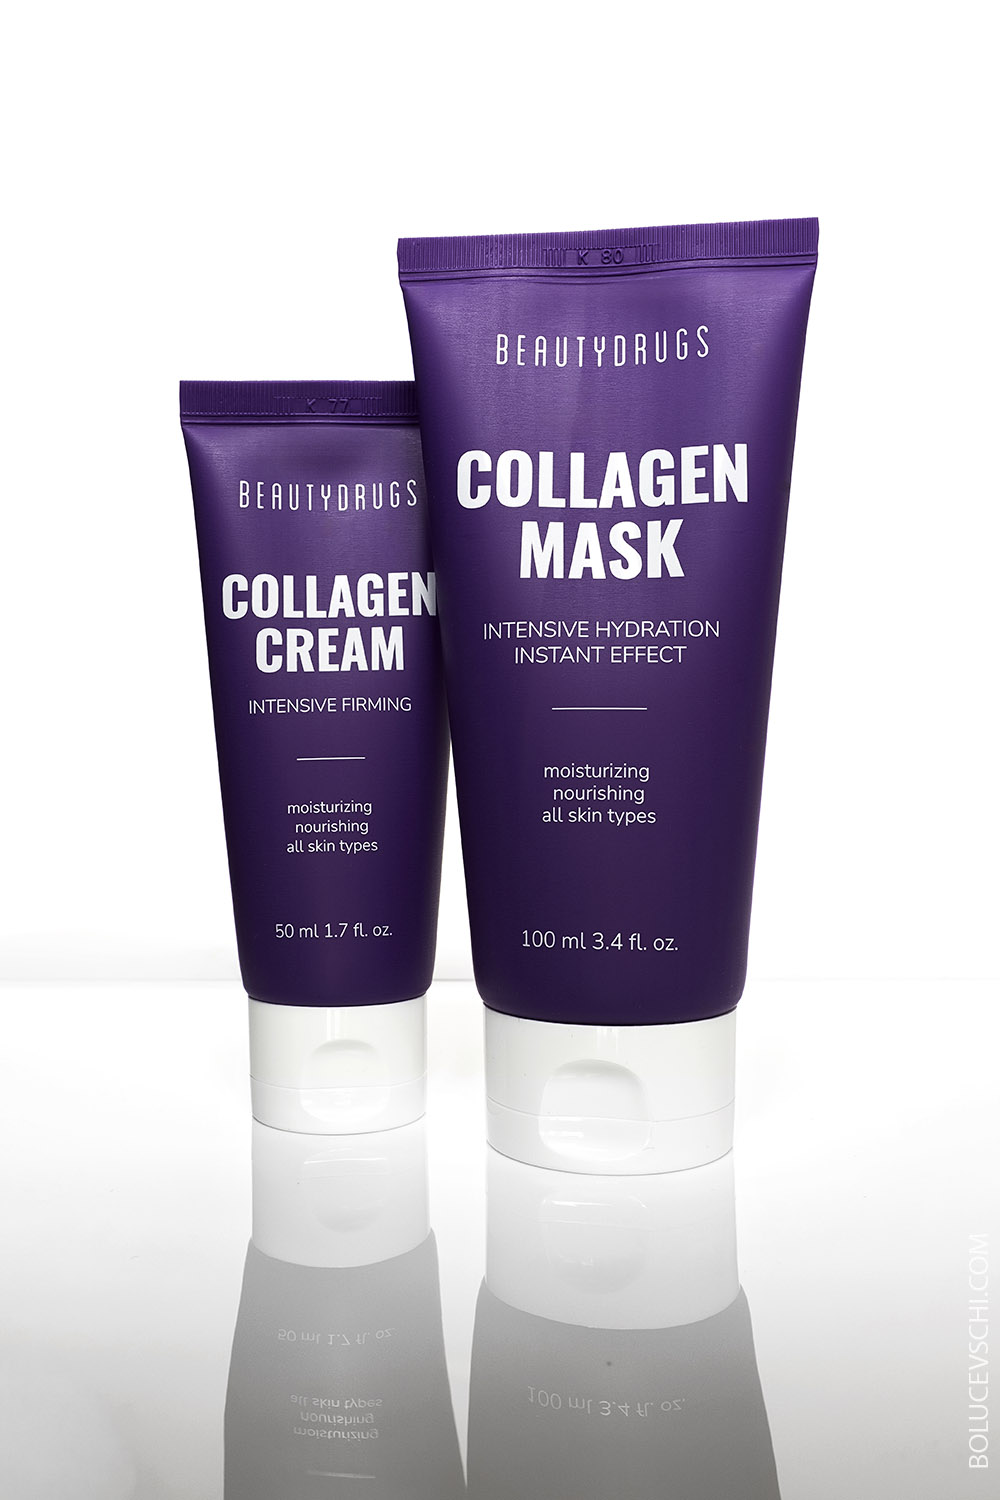
- Uniform style for all photos. Background, light, color temperature – everything must be consistent. This creates visual harmony and a professional brand image.
- White or neutral background. It doesn’t distract attention from the product and looks clean. The product can be easily cut out from such a background for a catalog or banner.
- Multiple angles. The buyer wants to examine the product from all sides. I usually take 5–7 shots: front, side, detail, use in context.
- Maximum detail. Especially for clothing, accessories, and cosmetics. Close-ups help the customer “touch” the product with their eyes.
- Minimum glare and distortion. This is a matter of trust. The photo must be realistic, without false shine or an “Instagram filter.”
When I work with online stores, I always try not just to “shoot the product,” but to convey the value of the brand. Even if it’s a simple mug – through the photo, it should tell a story: coziness, warmth, the moment for which it is worth buying that specific one.
Conclusion
Product photography is more than just a job. For me, it’s a way to see beauty in details, convey atmosphere through objects, and help businesses speak to the world visually. Every shot is a story. A story about your brand, your product, and your approach. When I pick up the camera, I always think: what do I want a person to feel when looking at this photo? If you are looking for a photographer who will create not just a “catalog,” but a visual story of your product – welcome to my portfolio. I will help your products speak the language of light and emotions.
FAQ
- How does product photography differ from regular shooting? Product photography is commercial shooting where the main goal is to sell the product, to show it as realistically and attractively as possible.
- Can product photos be taken without a studio? Yes, but with limitations. With proper natural light and minimal equipment, you can get decent shots, especially for small items.
- How long does a product photoshoot take? Usually from 2 to 6 hours, depending on the number of products and the complexity of the light setup.
- Can I book an on-location shoot? Of course! I conduct both studio and on-location shoots – with a full set of light and equipment.
- In what format will I receive the photos? You will receive the finished images in JPEG and PNG formats, and if necessary – also RAW for printing or further processing.